Fork me on GitHub

Demo with Nuxeo DM Server 6.0

Introduction

In this demo, we will use Nuxeo DM Server as a CMIS Repository and show how to integrate it with Hippo Repository.

Install Nuxeo DM Server

  1. Download Nuxeo Document Management Server at http://www.nuxeo.com/.
  2. Uncompress or install the package (e.g, ./nuxeo-cap-6.0-tomcat/).
  3. Change the default Tomcat port numbers of Nuxeo DM Server by adding the following properties in the bin/nuxeo.conf file:
    (This will be more convenient when you are running Hippo CMS on the same machine because Hippo CMS also uses 80** port numbers by default.)
    nuxeo.url=http://localhost:18080/nuxeo
    nuxeo.server.http.port=18080
    nuxeo.server.tomcat_admin.port=18005
    nuxeo.server.ajp.port=18009
                
  4. Start Nuxeo DM Server like the following example in a command line console:
    $ cd ./nuxeo-cap-6.0-tomcat/bin
    $ ./nuxeoctl console
                
  5. You can log on to http://localhost:18080/nuxeo/ with Administrator/Administrator.
    (If you meet the initial setup screen, then just choose the defaults and clicks 'Next' buttons.)

Run CMIS Replication Demo Application

Fork me on GitHub: https://github.com/bloomreach-forge/cmis-replication.

Build the project using Maven:

$ mvn install

And, build and run the demo in the demo subfolder.

$ cd demo
$ mvn clean package
$ mvn -P cargo.run
        

Configure CMIS Repository Source and HIPPO Repository Target

  1. If you want to change configurations, please navigate to '/hippo:configuration/hippo:modules/cmisreplication-scheduler-module/hippo:moduleconfig' in CMS Console and edit properties. See Installation page for detail.

Note: cmis.replication.source.rootPath should be properly set to the existing Nuxeo workspace or section path.

Testing

  1. Create a documetn workspace with any name. (e.g, 'marketing') in Nuxeo DM Server
  2. Create a section named 'marketing'.
  3. Add some documents with file attachments into workspace and publish those into the 'marketing' section.
  4. Check if those added binary files are shown in a Hippo Repository Asset folder within about 1 minute.
  5. Open a document in CMS and add link(s) to asset(s).
  6. Search documents and assets in the SITE application.

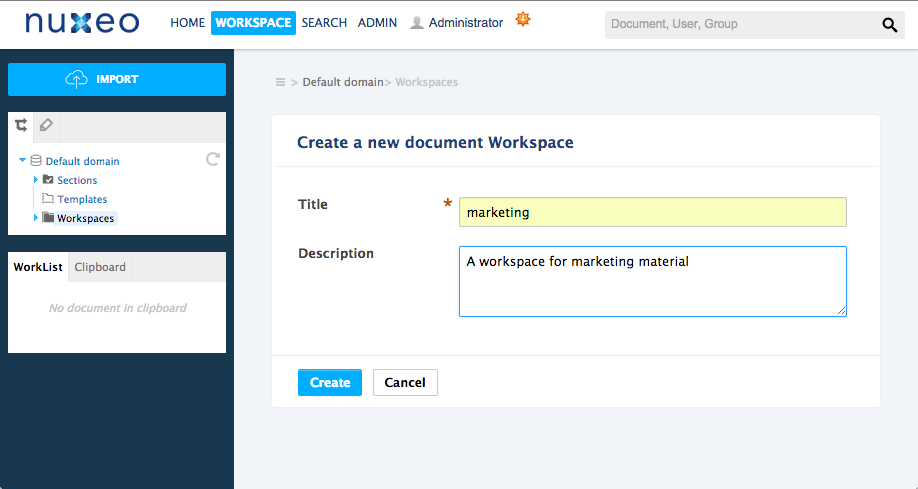
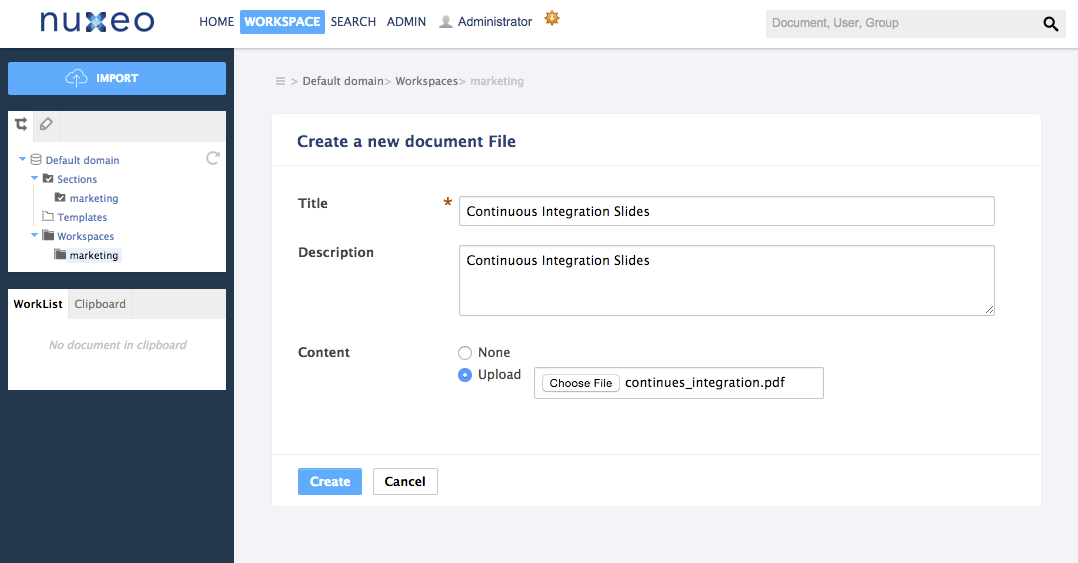
As you can see below, you need to add a workspace to add a file.
Screenshot 1

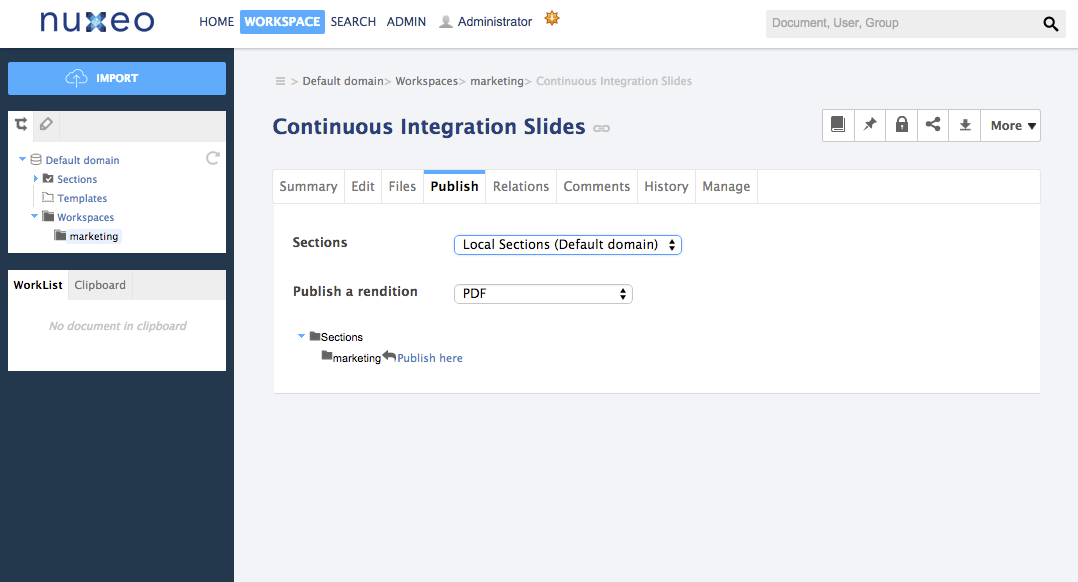
After adding a file in a workspace, you need to publish the file to a section.
Screenshot 2

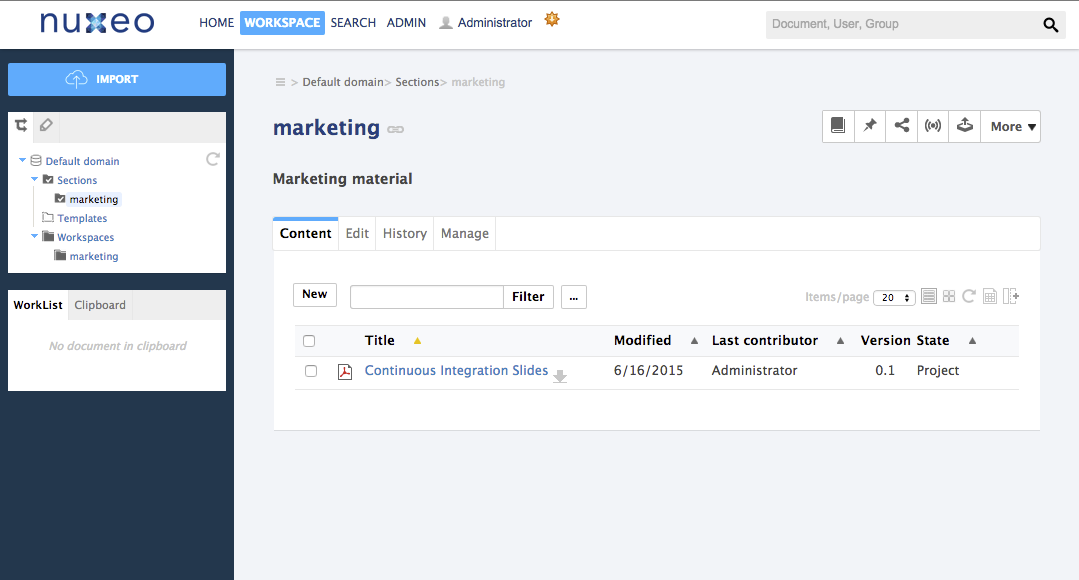
Now you can see the document you published in your workspace as shown below.
Screenshot 3

After about 1 minute, you may see the replicated documents in the specified assets folder from the Nuxeo DM Server to Hippo Repository.
Screenshot 4

Now, you can search the asset documents by the contents in your website.
Screenshot 5

NOTE: By default, the search component searches only non-asset documents. Also, its default template JSP page cannot deal with asset document beans. Therefore, the demo project contains custom component implementation and template JSP page to allow to search asset documents as well. See the following code for detail:

  • https://github.com/bloomreach-forge/cmis-replication/tree/master/demo/site/src/main/java/org/onehippo/forge/cmisreplication/demo/components/Search.java
  • https://github.com/bloomreach-forge/cmis-replication/tree/master/demo/site/src/main/webapp/WEB-INF/jsp/search/main/content.jsp

References